Technology
Enhance Your MacBook: How a NAS Transforms Time Machine Backups

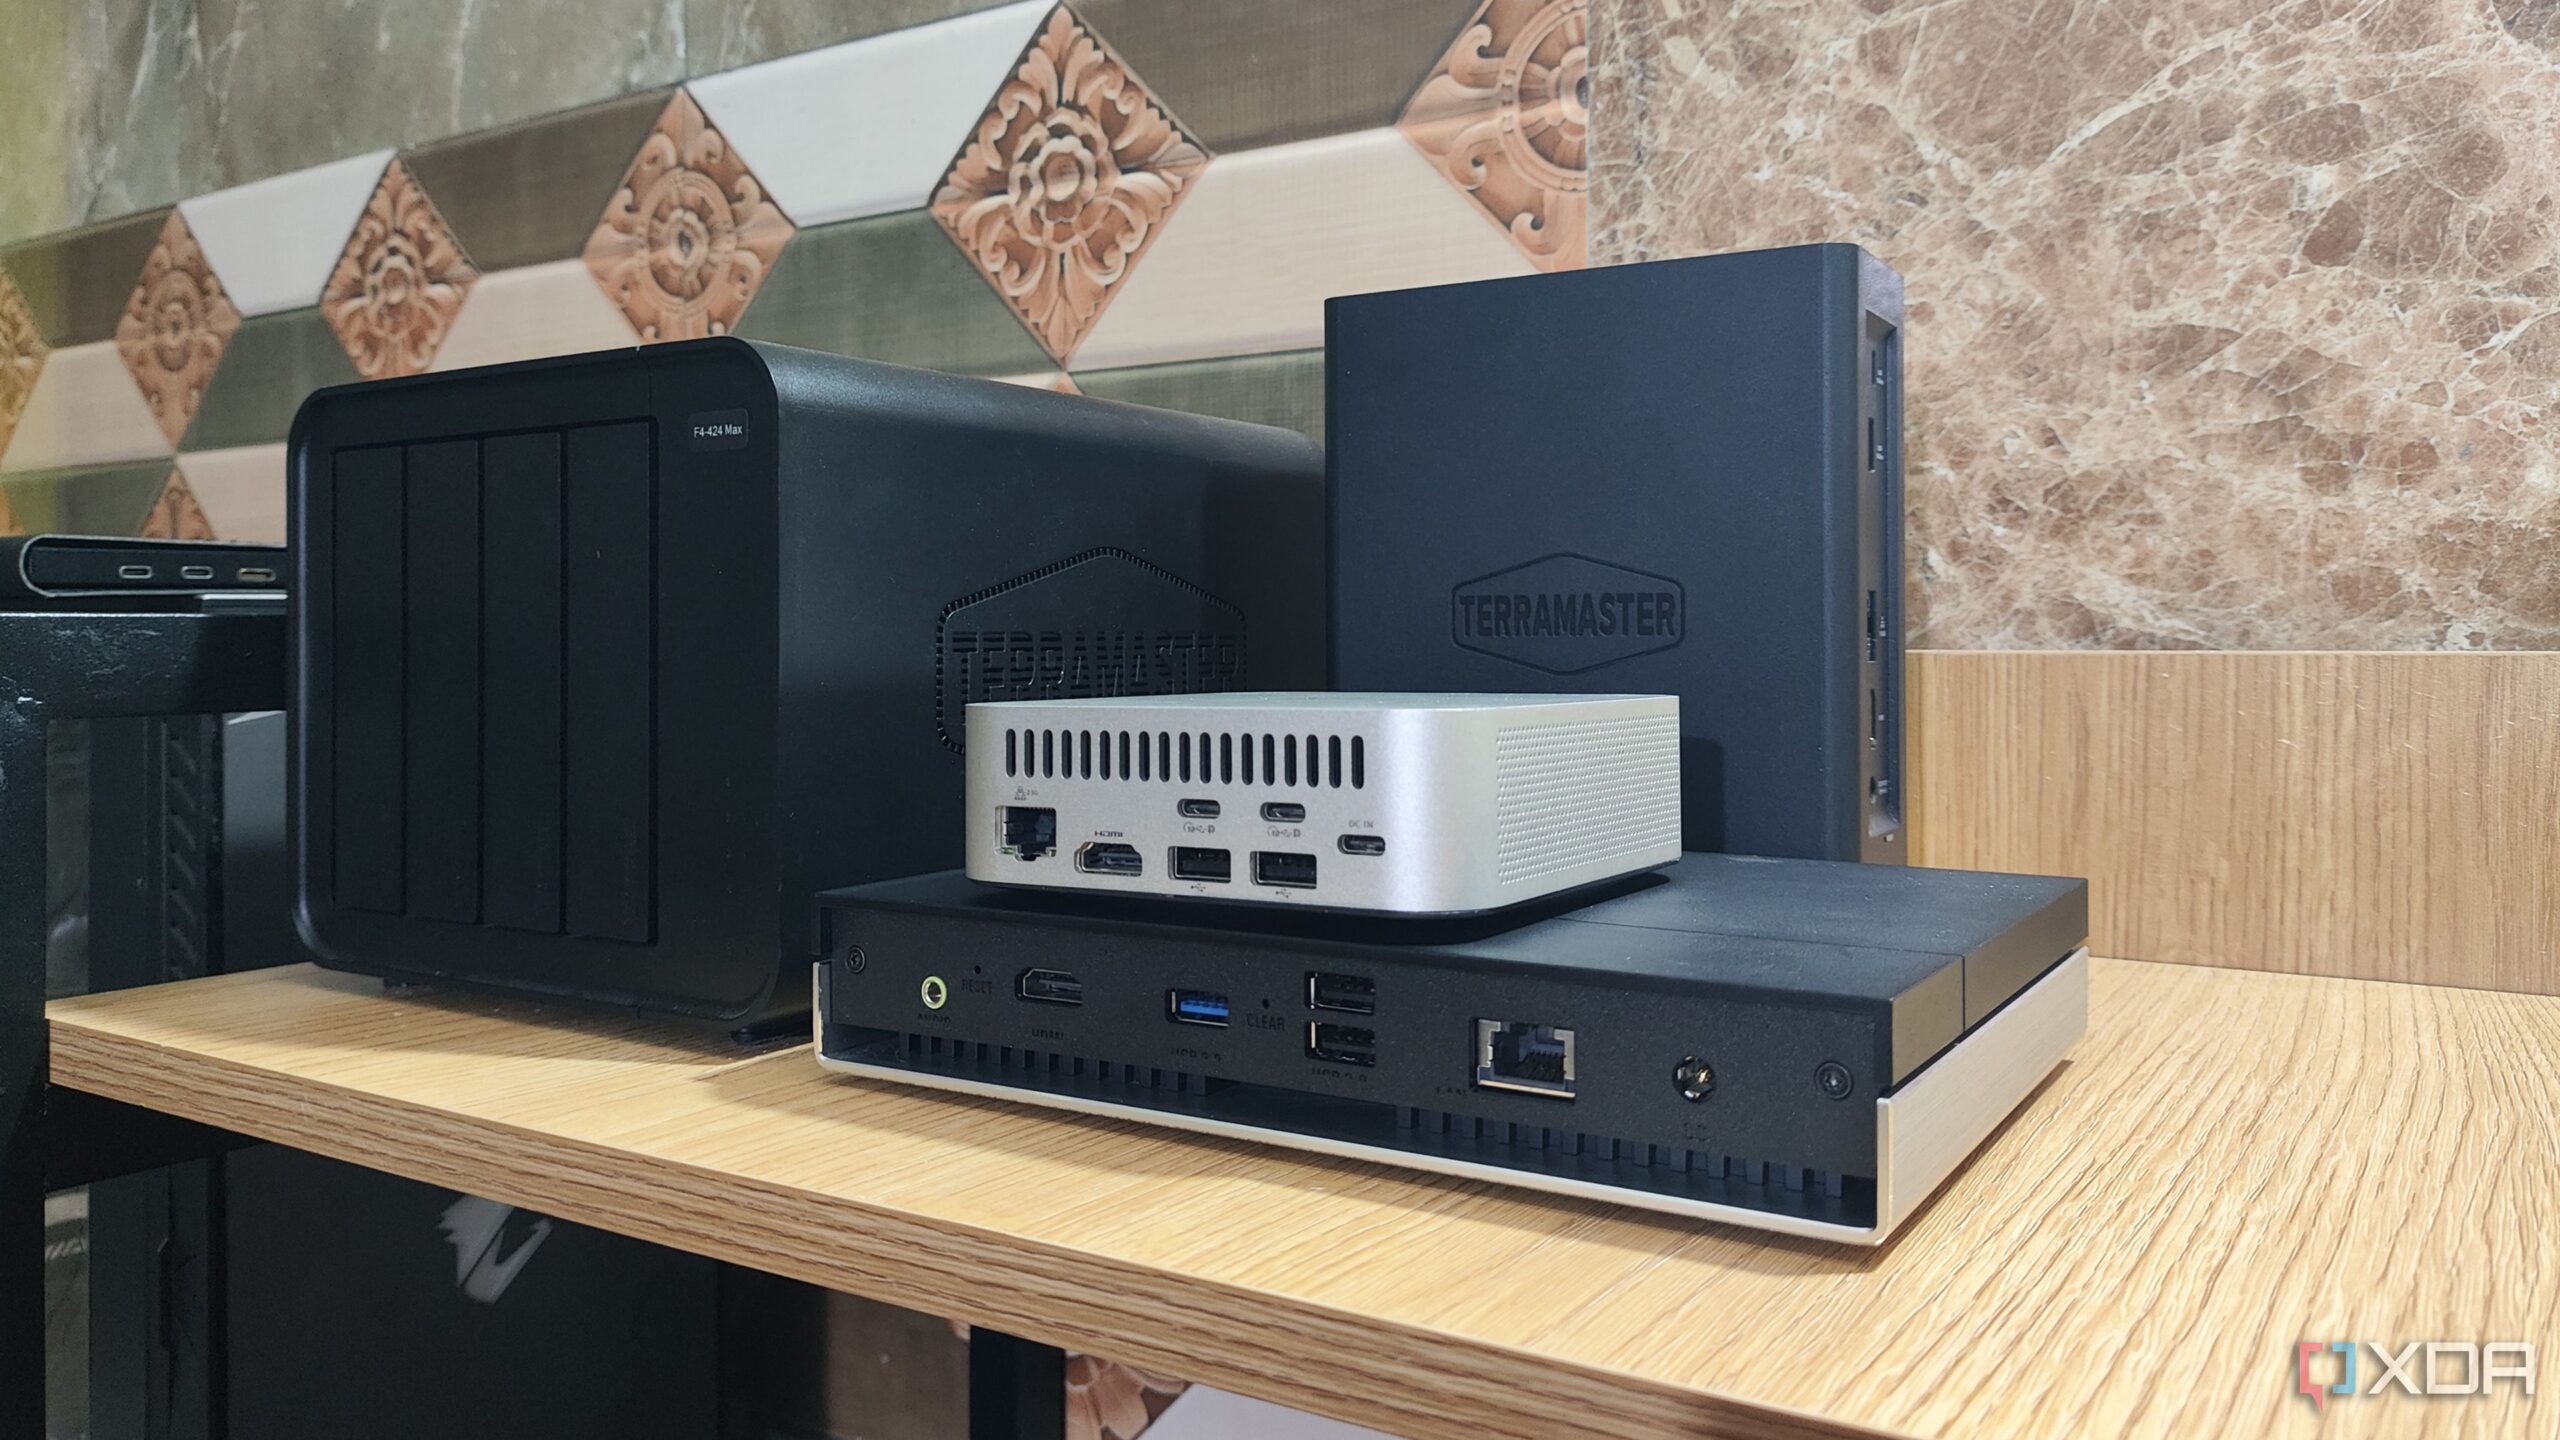
Using a Network Attached Storage (NAS) device to enhance Apple’s Time Machine backup capabilities can significantly improve data management for MacBook users. This integration allows for seamless backups, eliminating the need for external USB drives and providing a more efficient solution for data safety.
The macOS ecosystem benefits from Time Machine, a built-in utility that automatically saves not just files but also applications and system settings. This feature simplifies the backup process for users, allowing them to avoid complex scripts and scheduling issues. Time Machine is also compatible with NAS-based shares, making it an appealing choice for those looking to maximize storage efficiency.
Many users, including myself, have recently explored the advantages of implementing SMB-powered Time Machine shares. After relying on an external hard drive for a few months, I found the transition to a NAS-based solution to be transformative. While the external drive method was functional, it presented challenges. The need to carry an extra device was cumbersome, and ensuring its safety from physical damage was a constant concern.
Automated backups became increasingly difficult with the external drive approach, as I did not keep it connected at all times. Although cloud services like Backblaze are available, my shift towards self-hosting made recurring subscription fees feel unnecessary. The NAS solution offered a compelling alternative, allowing me to back up my MacBook wirelessly without the hassle of physical drives.
TrueNAS, a popular open-source storage solution, became my choice for implementing Time Machine backups. It supports Rsync, enabling synchronization of MacBook snapshots with additional NAS devices or cloud platforms such as Google Drive and OneDrive. This setup not only streamlines the backup process but also aligns with the 3-2-1 backup strategy, which emphasizes having three copies of data on two different media types, with one copy stored off-site.
Creating an SMB Share for Time Machine
To set up an SMB share for Time Machine on TrueNAS, it is advisable to create a separate dataset dedicated to backups. This helps prevent permission issues down the line. A dataset with at least double the storage capacity of your MacBook is recommended to ensure adequate space for backups.
Once the dataset is created, navigate to the Shares tab in TrueNAS and select the Windows SMB Shares option. Here, enable the Apple SMB2/3 Protocol Extensions, which are crucial for compatibility with Time Machine. After configuring these settings, you can add the dataset as a Time Machine share by adjusting the Purpose setting to either Basic or Multi-user, depending on how many devices will utilize the share.
Connecting Your Mac to the Share
After configuring the SMB share, connecting your MacBook is straightforward. Upon launching Time Machine for the first time, the application will prompt you to set up a backup drive. As long as your MacBook is on the same network as your NAS, the newly configured SMB share will appear. By entering the necessary credentials, you can start scheduling backups.
For added flexibility, I recommend installing Tailscale or similar VPN solutions, which allow for remote access to your NAS. This is particularly useful for backing up data even when your Mac is not connected to the local network.
In summary, utilizing a NAS for Time Machine backups offers significant advantages over traditional external drives. The combination of enhanced storage capabilities, automated scheduling, and remote access creates a robust backup solution. This approach not only ensures data safety but also simplifies the user experience for MacBook owners seeking reliable and efficient storage solutions.
-

 Technology5 months ago
Discover the Top 10 Calorie Counting Apps of 2025
-

 Health3 months ago
Bella Hadid Shares Health Update After Treatment for Lyme Disease
-

 Health3 months ago
Erin Bates Shares Recovery Update Following Sepsis Complications
-

 Technology4 months ago
Discover How to Reverse Image Search Using ChatGPT Effortlessly
-

 Technology1 month ago
Discover 2025’s Top GPUs for Exceptional 4K Gaming Performance
-

 Technology3 months ago
Electric Moto Influencer Surronster Arrested in Tijuana
-

 Technology5 months ago
Meta Initiates $60B AI Data Center Expansion, Starting in Ohio
-

 Technology5 months ago
Recovering a Suspended TikTok Account: A Step-by-Step Guide
-

 Health4 months ago
Tested: Rab Firewall Mountain Jacket Survives Harsh Conditions
-

 Lifestyle5 months ago
Belton Family Reunites After Daughter Survives Hill Country Floods
-

 Health3 months ago
Analysts Project Stronger Growth for Apple’s iPhone 17 Lineup
-

 Technology4 months ago
Harmonic Launches AI Chatbot App to Transform Mathematical Reasoning


